Model a desk robot arm: the jaw
One jaw document makes both jaws. Its teeth are part of its outline, so they come from a single sketch rather than a pattern.
Each step shows the Designer as you make it: a feature's dialog filled in with the step's values, with the tutorial card ringing OK, or what the step made. The first time a command appears, a picture shows where it is. The step numbers match the card's in Help > Tutorials.
-
New part, from File > New part: name Jaw.
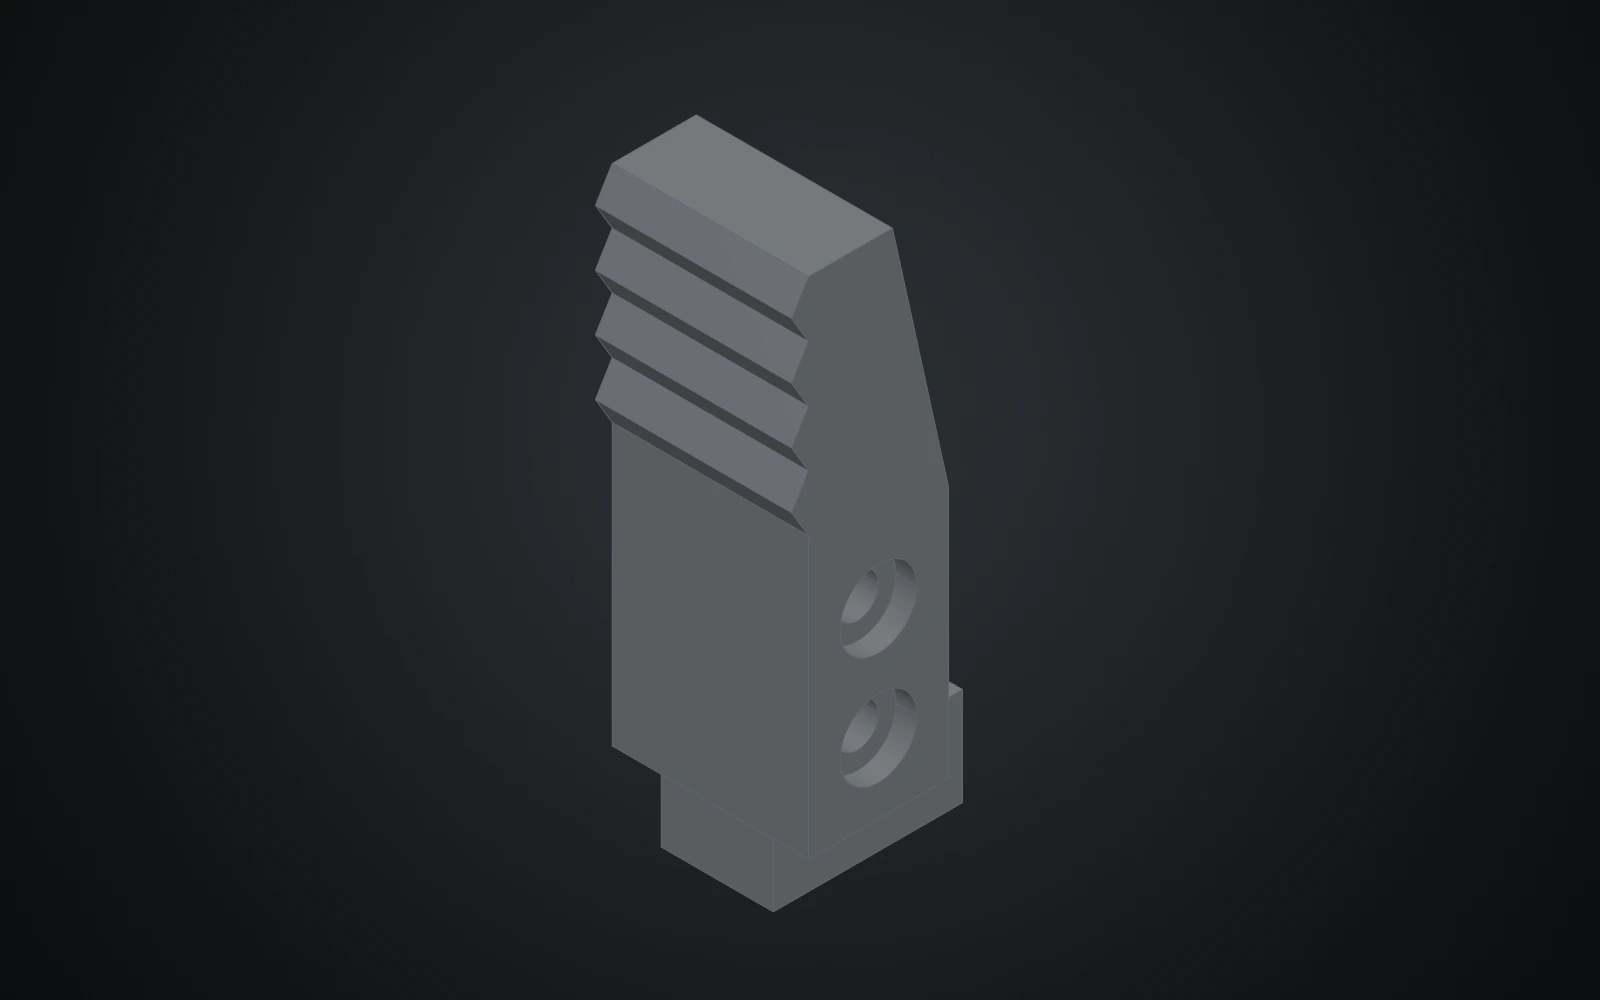
Each jaw is a serrated finger on a carriage that rides in the gripper's rail, held by two screws.
-
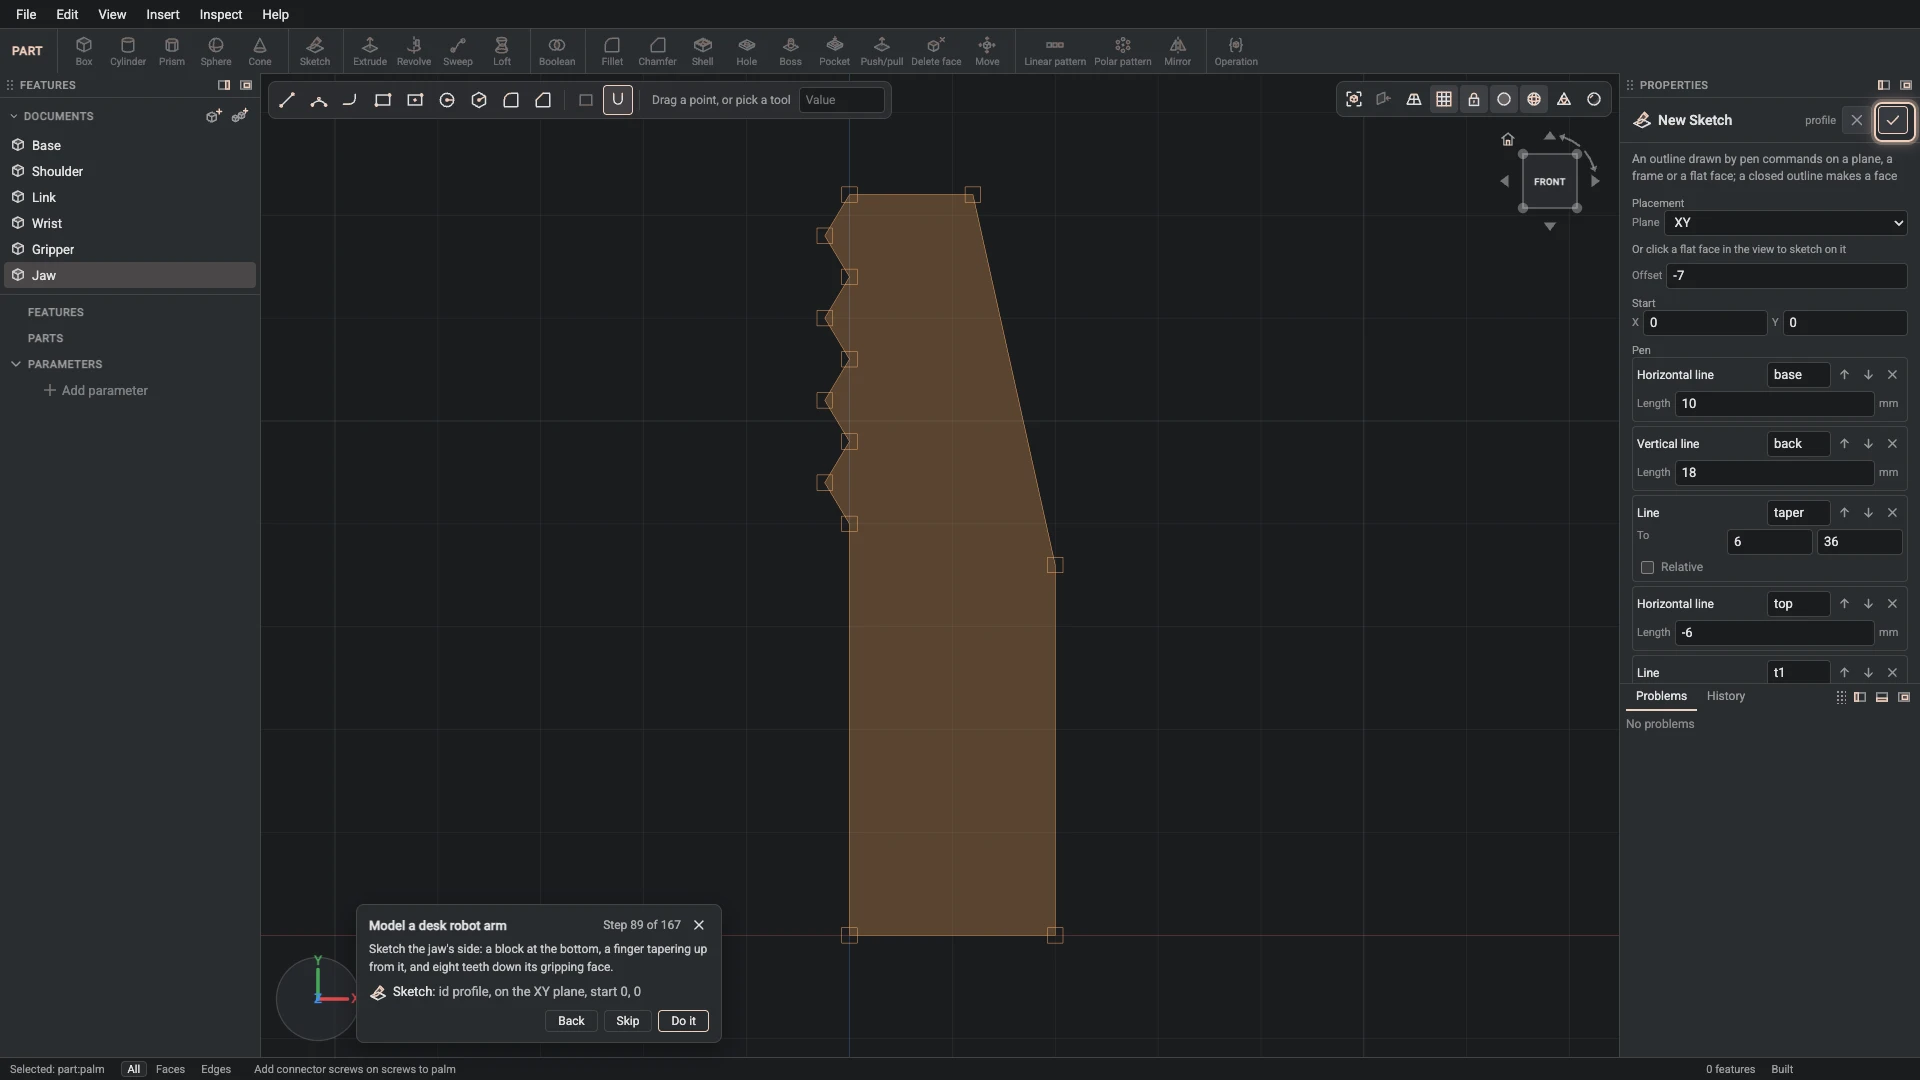
Sketch, from Insert > Sketch: id profile, on the XY plane, start 0, 0.
Sketch the jaw's side: a block at the bottom, a finger tapering up from it, and eight teeth down its gripping face.
-
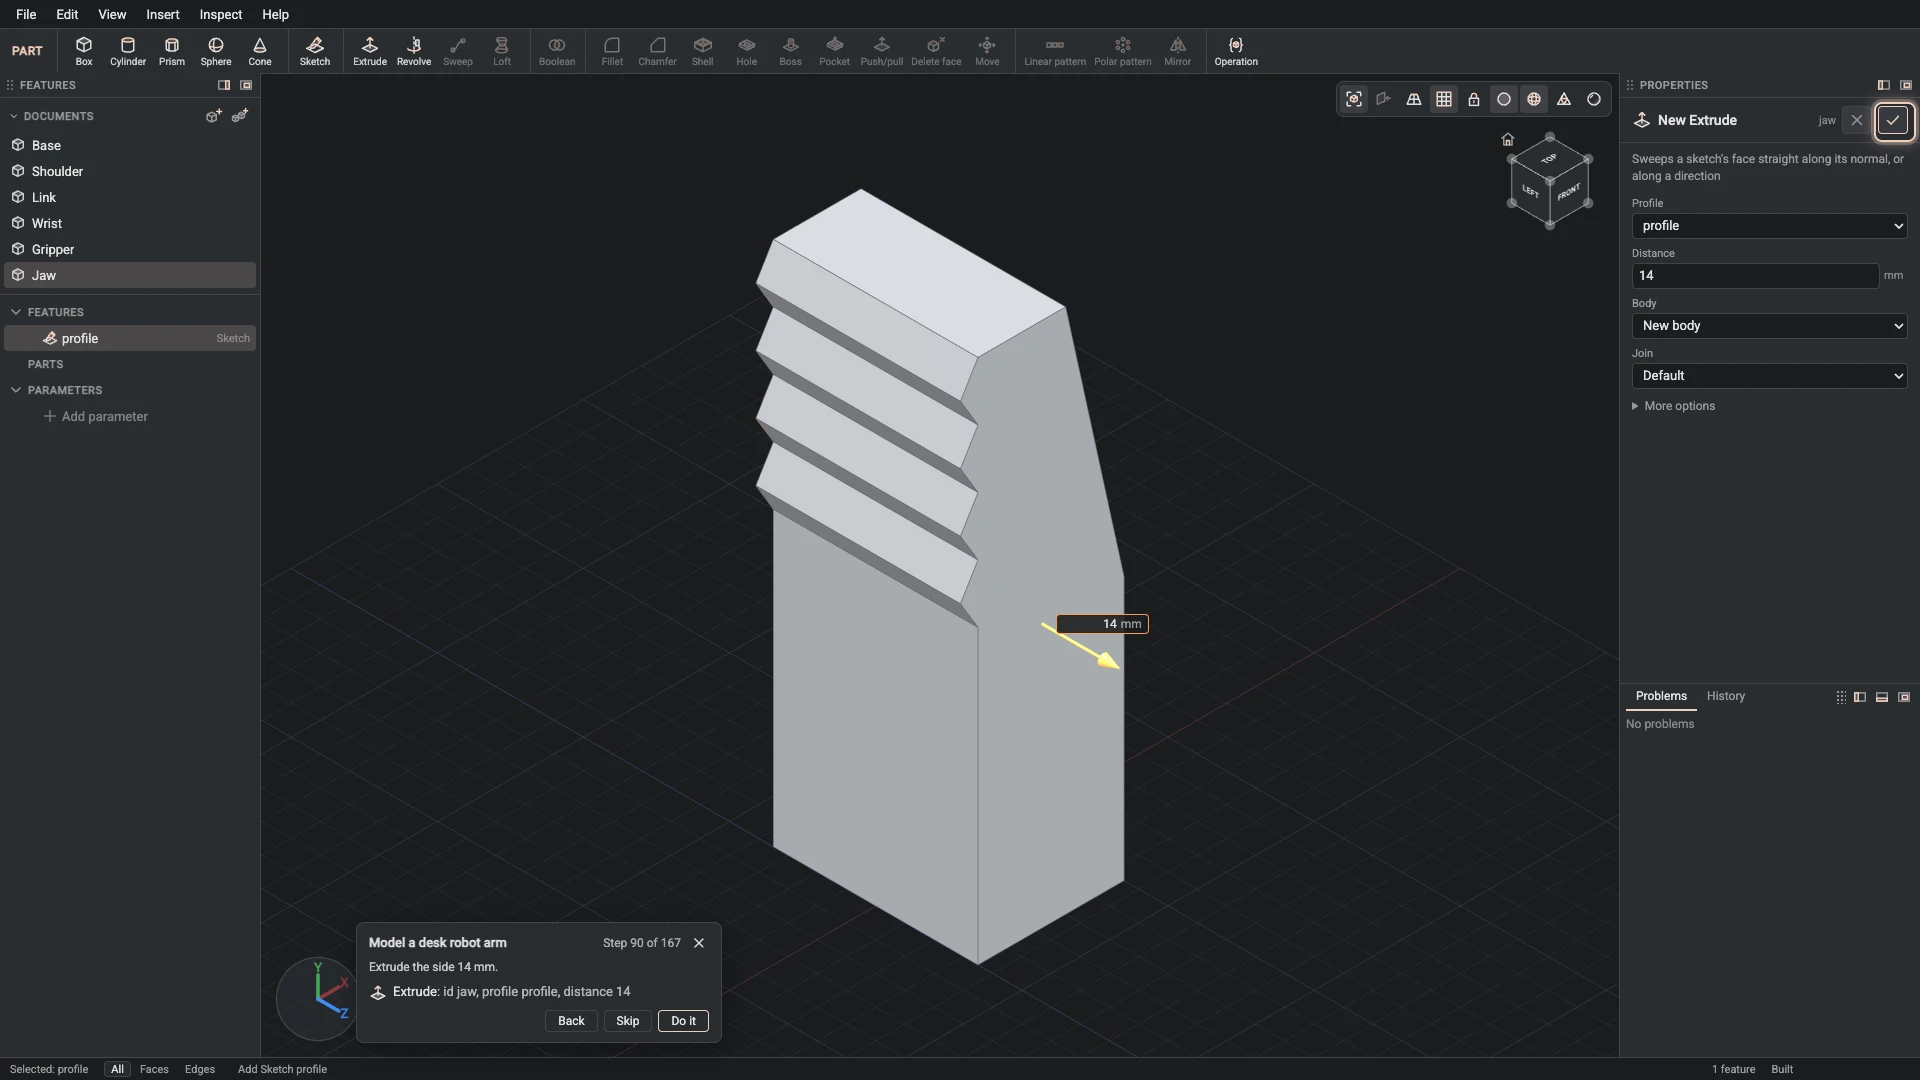
Extrude, from Insert > Extrude: id jaw, profile profile, distance 14.
Extrude the side 14 mm.
-
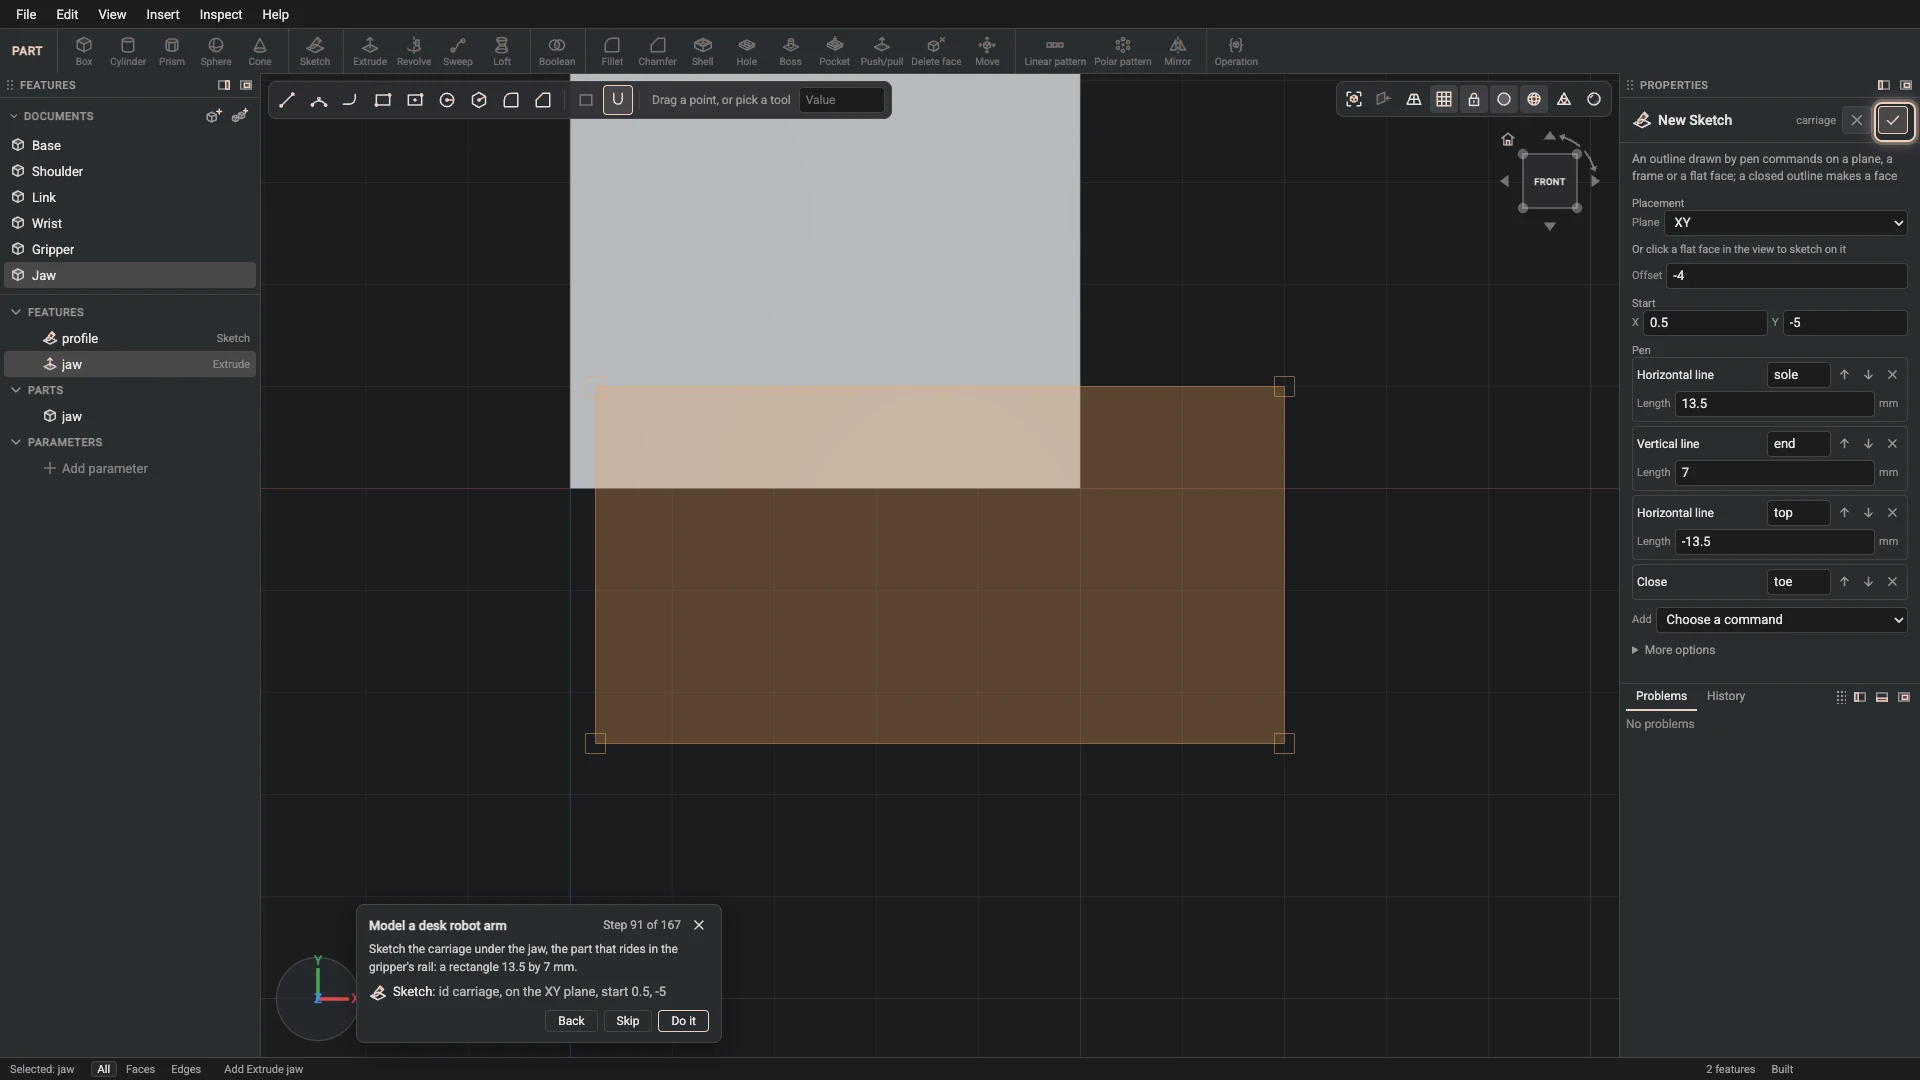
Sketch, from Insert > Sketch: id carriage, on the XY plane, start 0.5, -5.
Sketch the carriage under the jaw, the part that rides in the gripper's rail: a rectangle 13.5 by 7 mm.
-
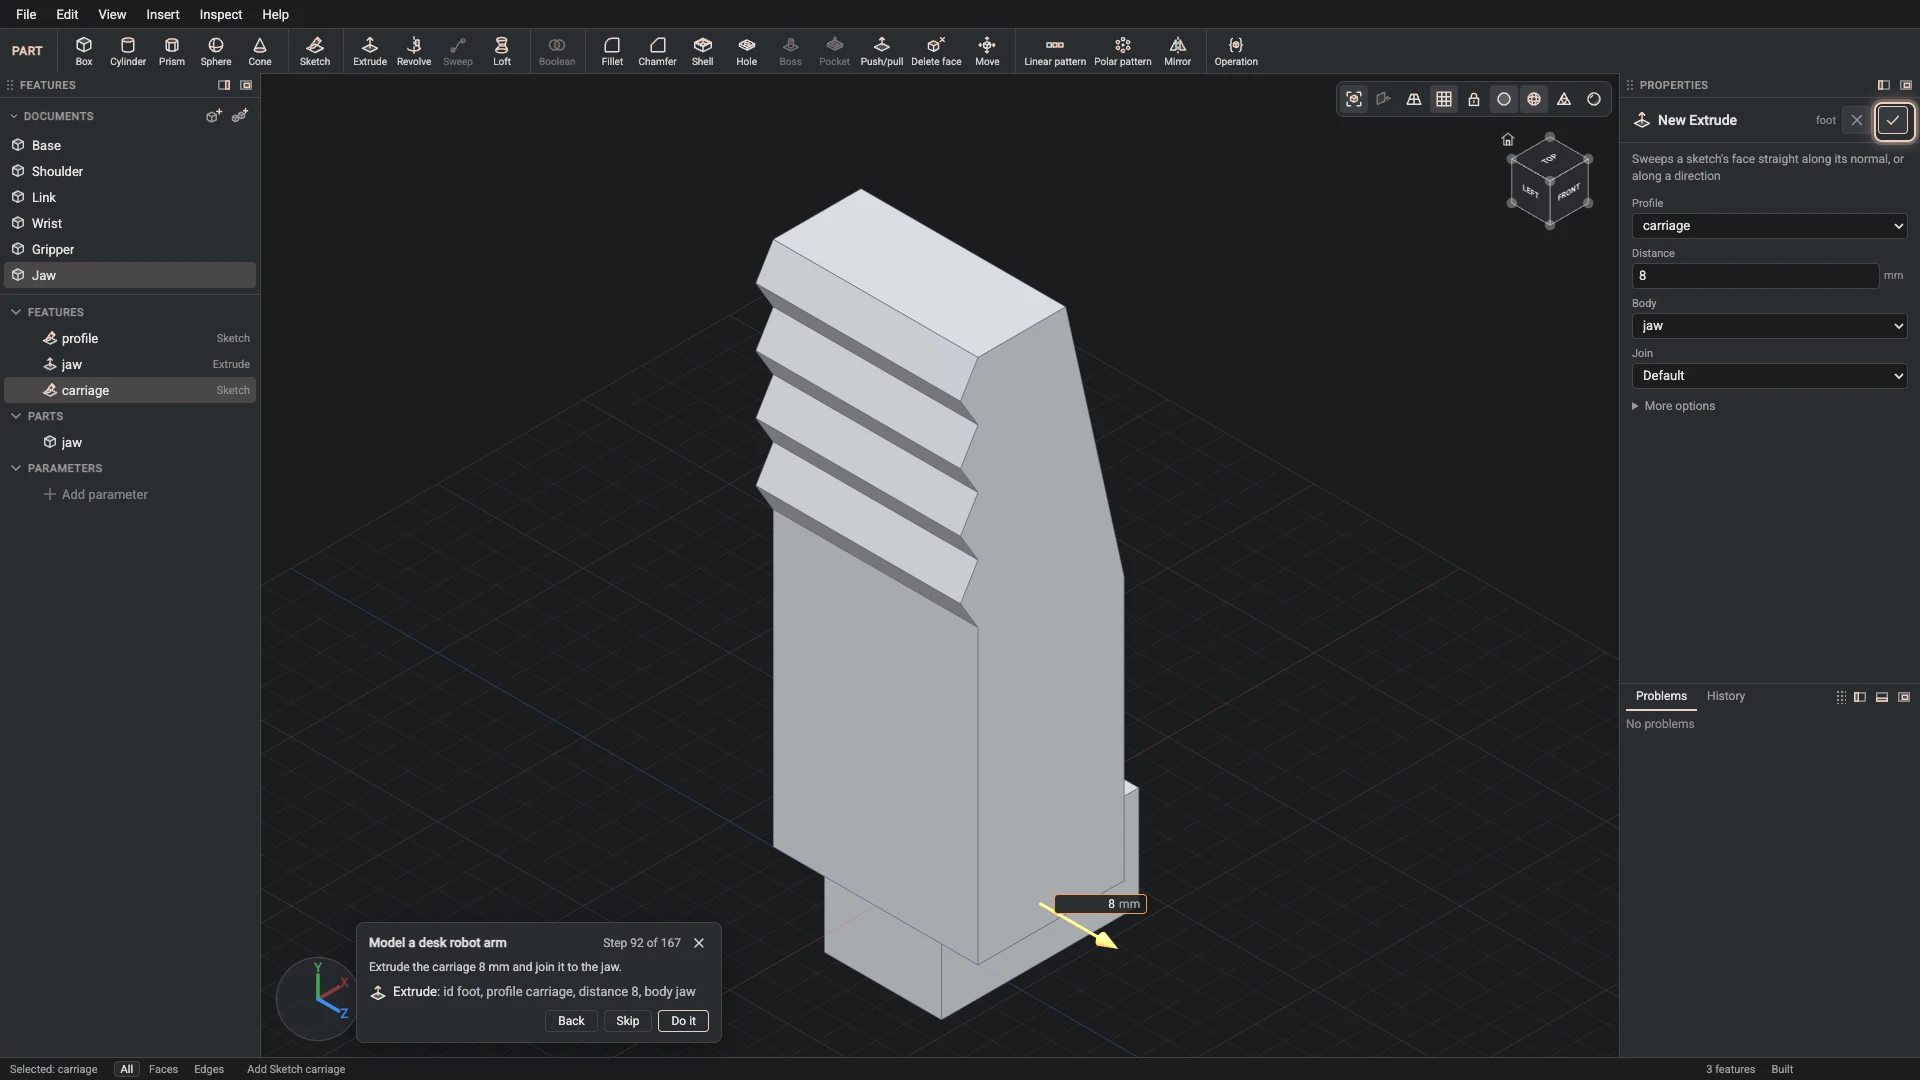
Extrude, from Insert > Extrude: id foot, profile carriage, distance 8, body jaw.
Extrude the carriage 8 mm and join it to the jaw.
-
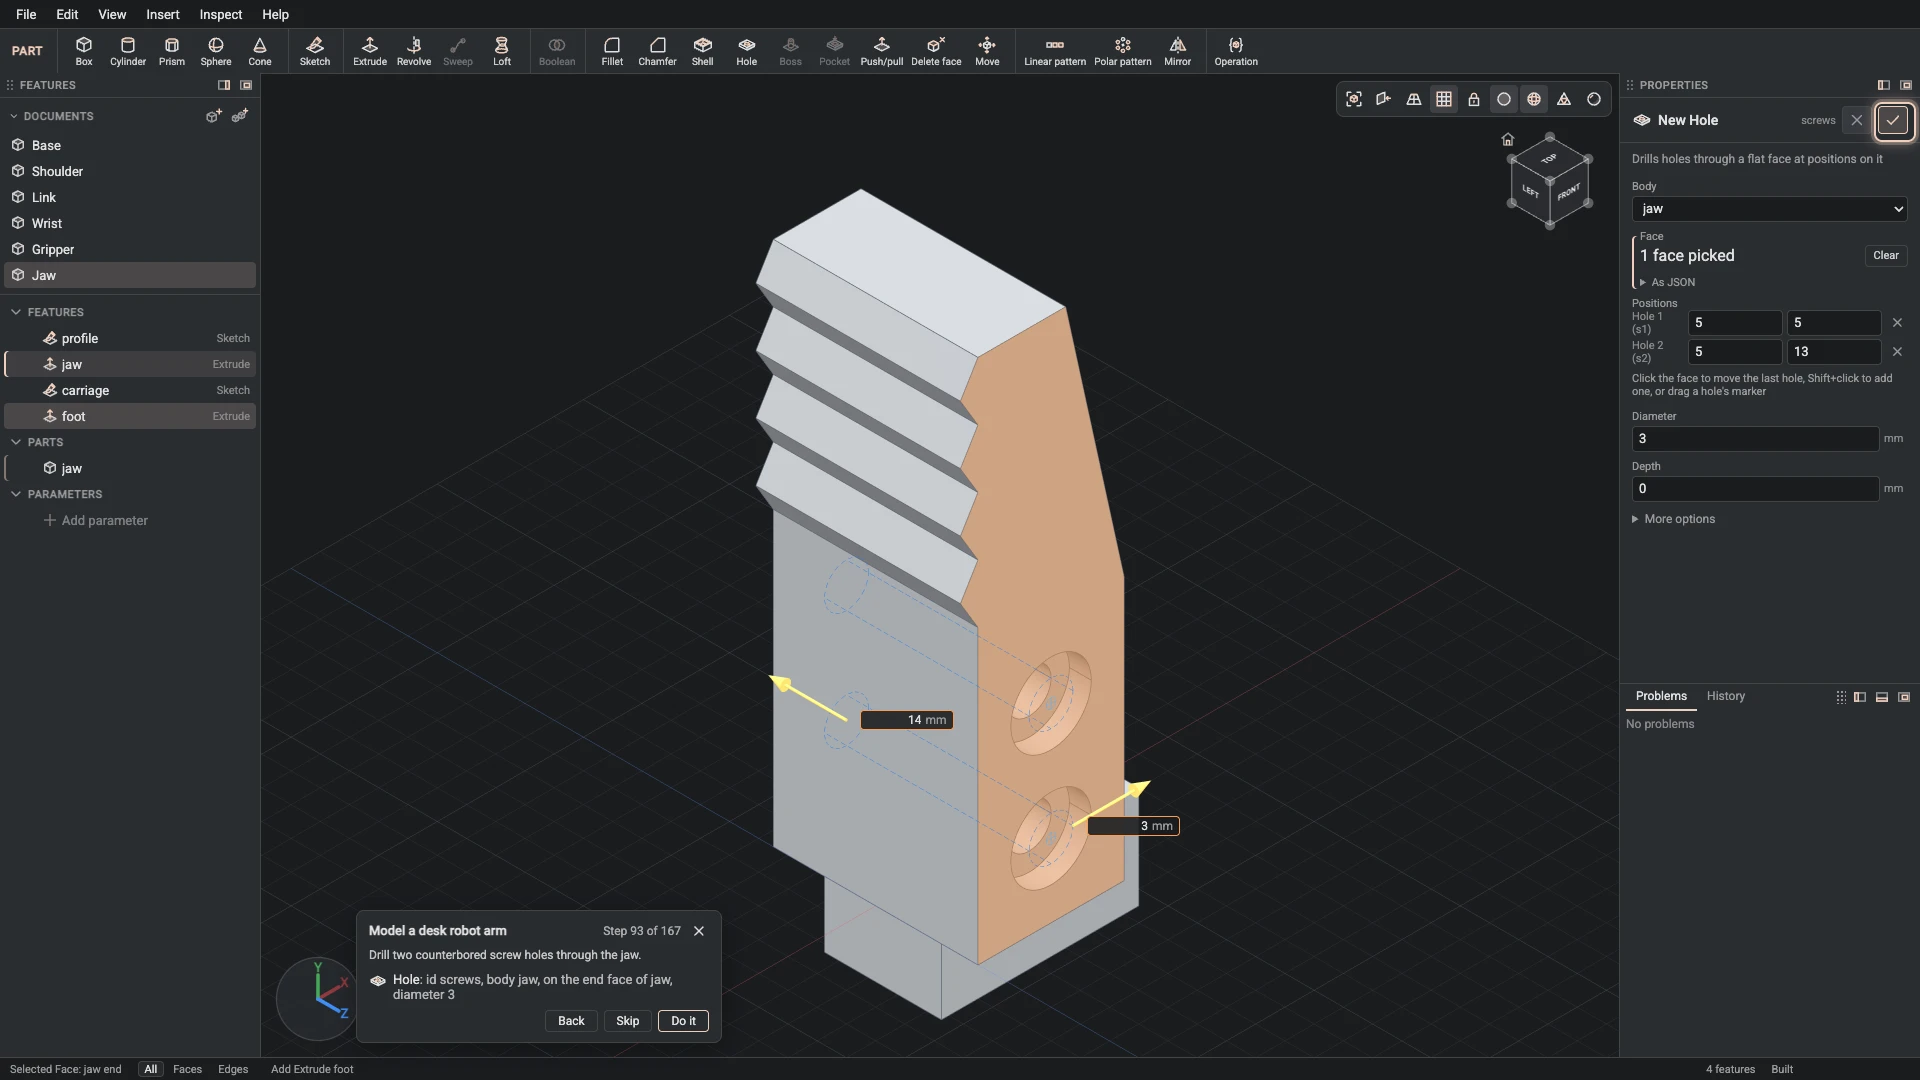
Hole, from Insert > Hole: id screws, body jaw, on the end face of jaw.
Drill two holes through the jaw for M3 socket head cap screws.
-
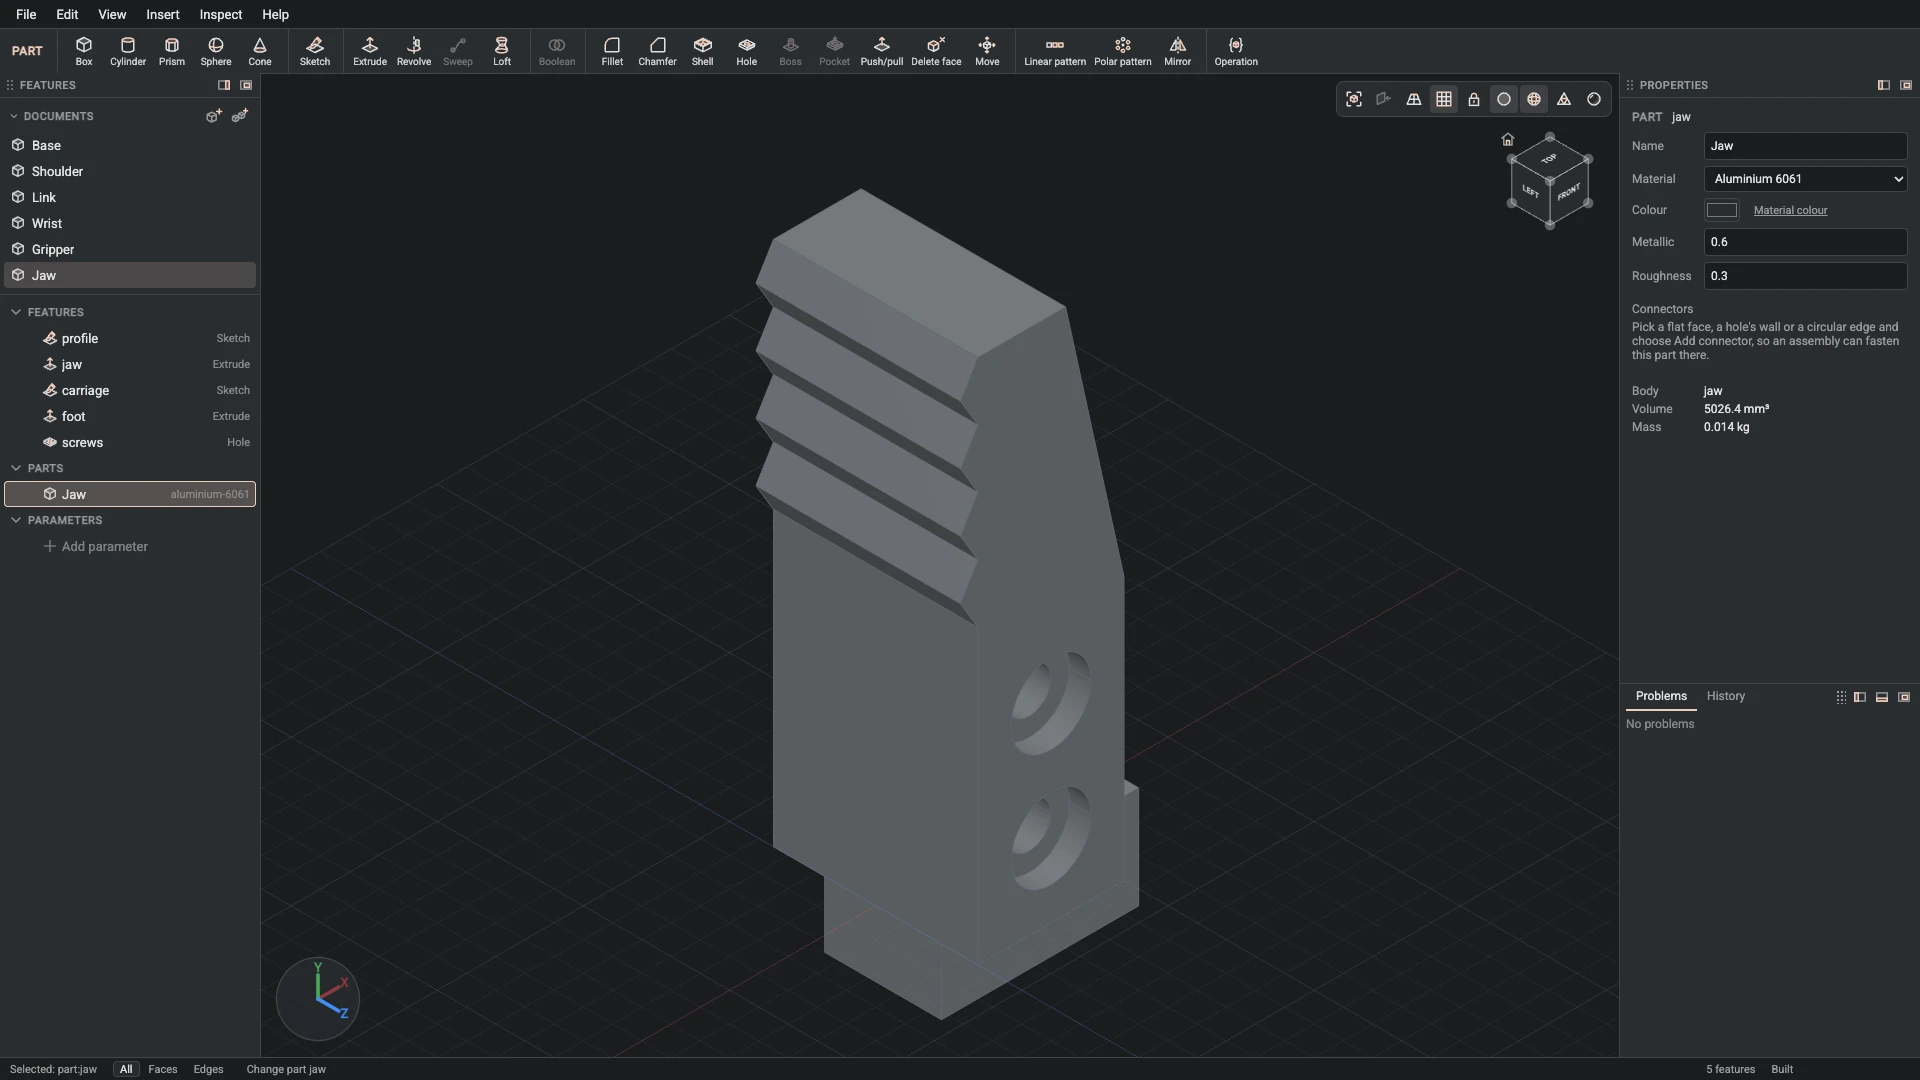
Part properties, from the Properties panel: id jaw, name Jaw, material aluminium-6061, color #2a2d31, metallic 0.6, roughness 0.3.
Name the part Jaw: dark anodised aluminium.
-
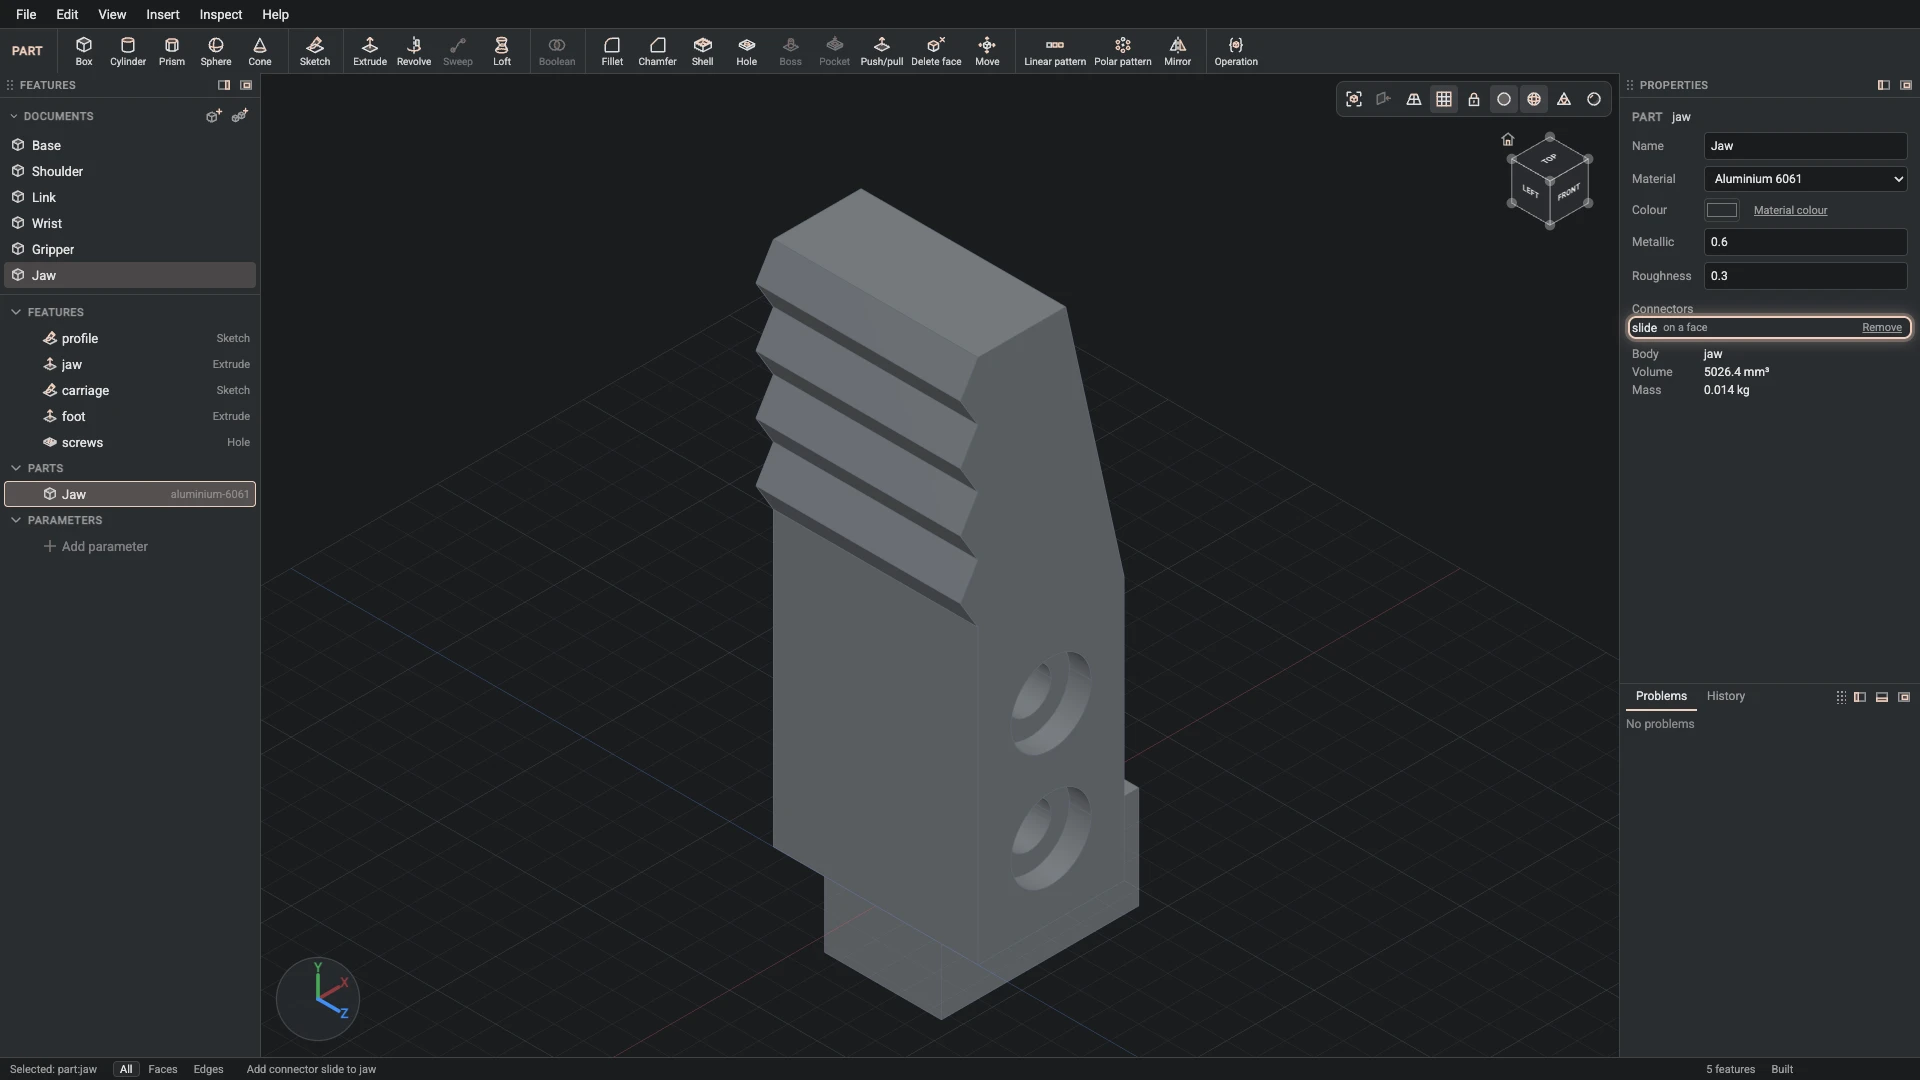
Add connector, from Insert > Add connector: part jaw, id slide, on the side face of foot, origin 0.5, -2.5, 0.
Add a connector in the middle of the carriage's end, below the jaw. The jaw slides along the gripper's rail on it, the carriage down in the rail and the jaw on the gripper's top.
-
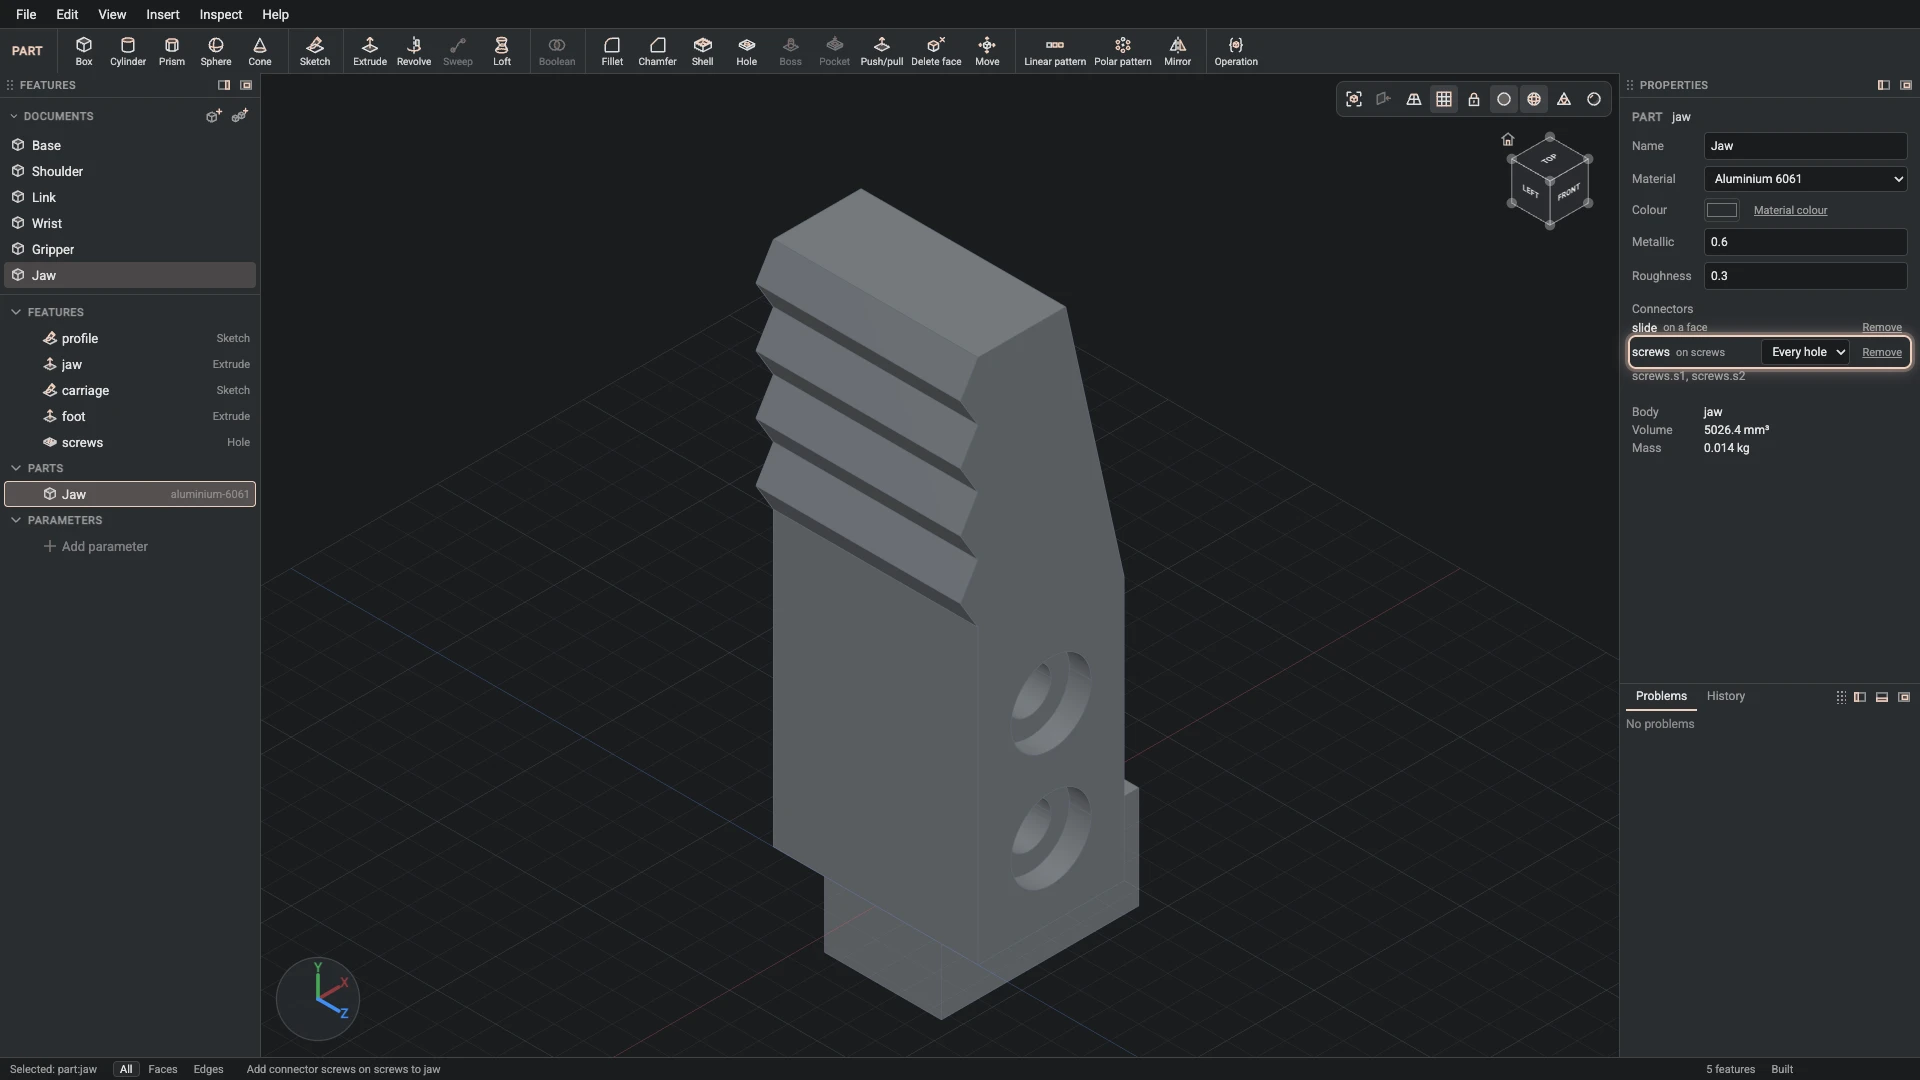
Add connector, from Insert > Add connector: part jaw, id screws, on the end face of jaw, axis the wall face of screws.
Add a connector on the jaw's face, its axis along the screw holes.
Verified against the product in October 2026